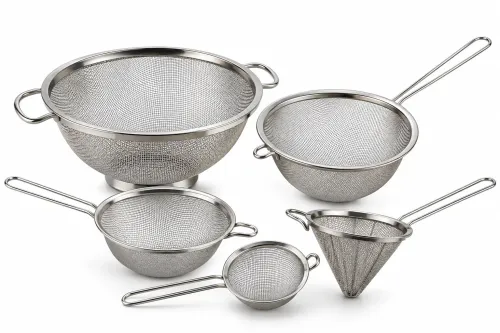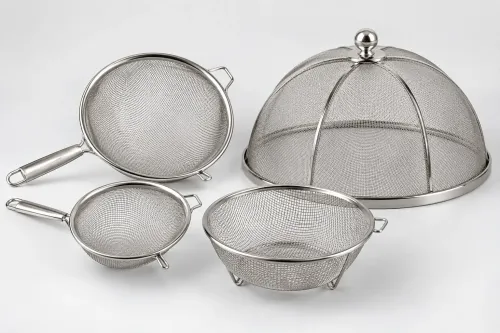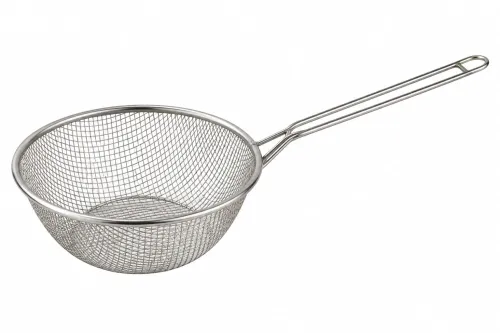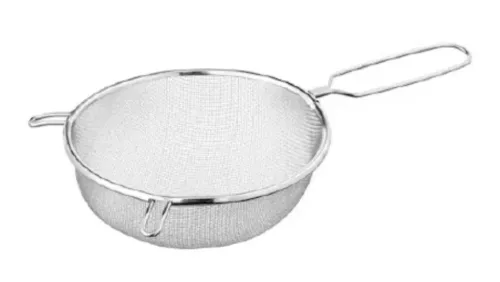
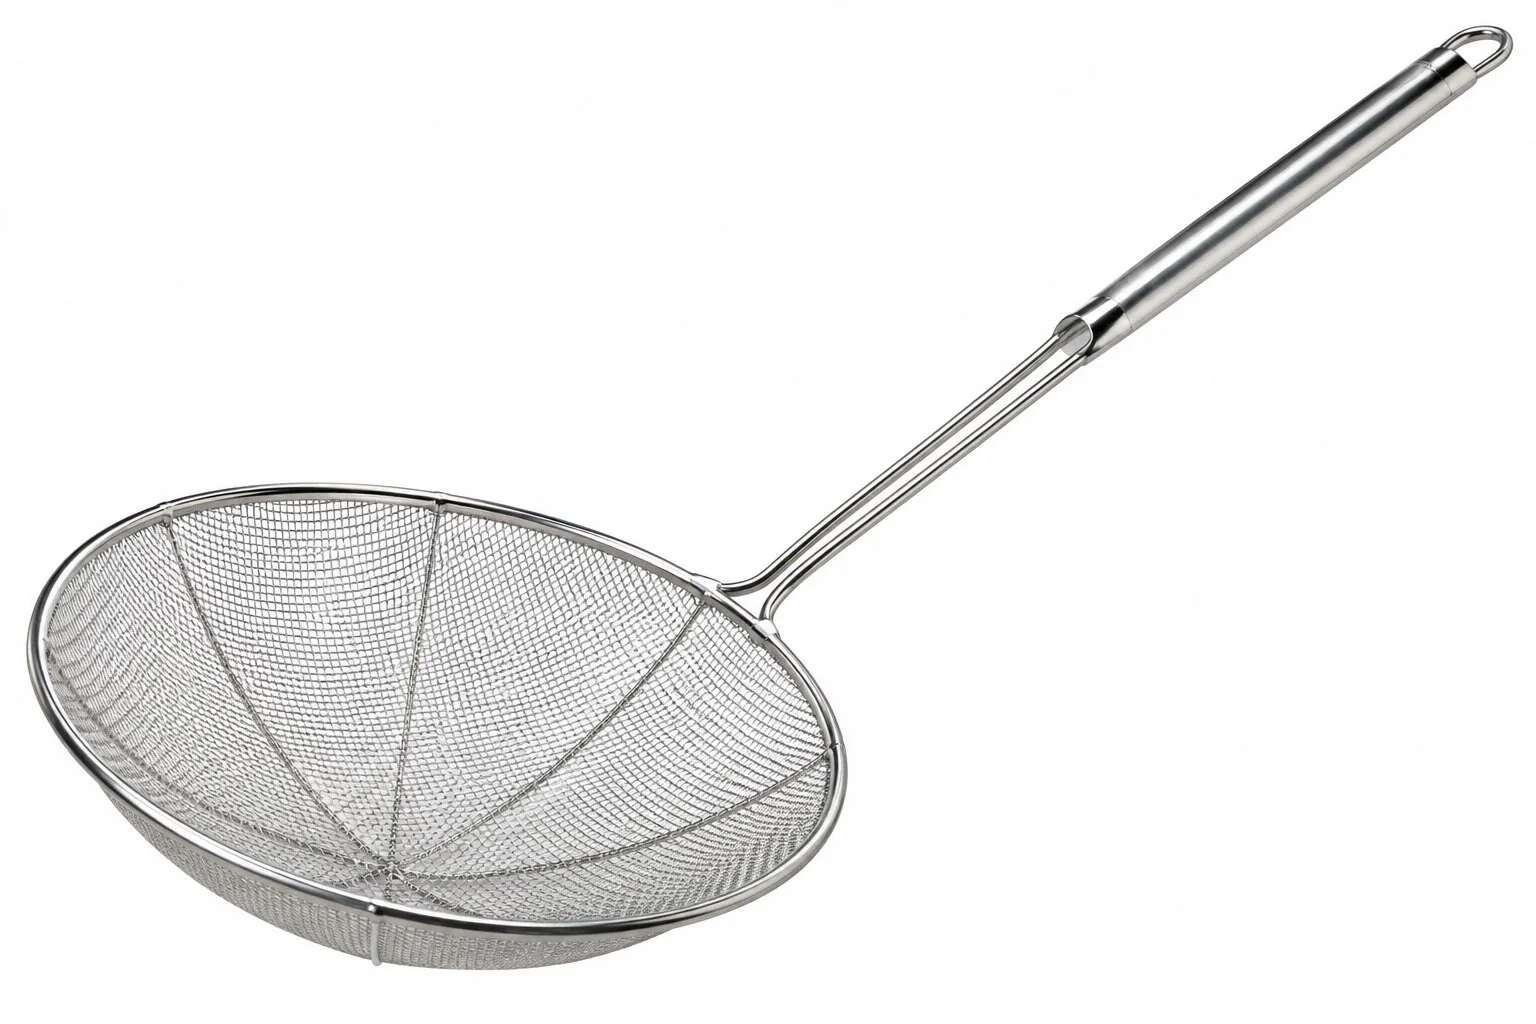
A skimmer can look sturdy yet fail at the rim, handle joint, or distorted mesh when it carries a wet, heavy batch. By the end, you will know which materials and construction details to specify, how to compare mesh performance, how to inspect a finished skimmer, and how to use it without sacrificing control or cleanability.
Key takeaways
- Check the mesh, ring, ferrule, and handle as one load-bearing system.
- Choose openings and mesh layers based on the food and drainage speed.
- Match basket diameter, handle length, and grip clearance to your vessel.
- Request material, finish, and performance records for repeatable purchasing.
How construction turns wire mesh into a load-bearing skimmer
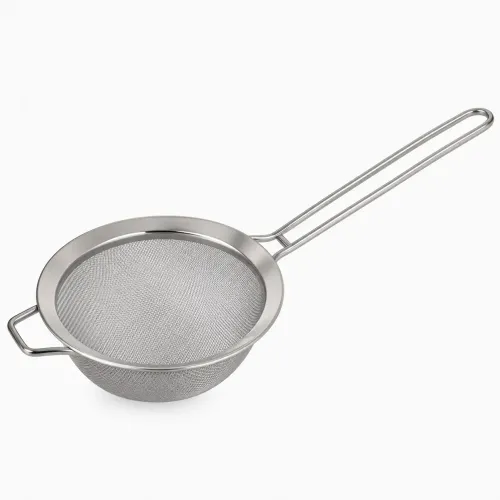
A skimmer stays rigid under lifting loads when its mesh, perimeter ring, ferrule, and handle form one supported load path; mesh alone is not the structure. A mesh skimmer manufacturer starts with a specified stainless-steel grade and wire diameter, then uses controlled woven mesh forming so wires remain evenly tensioned rather than distorted.
Opening also depends on mesh count: opening in millimetres ≈ (25.4 ÷ mesh count) − wire diameter.
Construction decisions that carry the load include:
- Form the basket around a continuous rim with enough thickness to resist ovalising when food weight pulls downward.
- Secure the mesh to the rim by a continuous weld, tight crimp, or enclosed fold; loose wires and isolated spot joints create weak points.
- Join the handle through a fitted ferrule or socket that overlaps the rim connection. A thin tube or short overlap lets the handle twist under a concentrated load.
- Weld, braze, or crimp joints cleanly, then remove sharp cut ends and weld spatter. Stainless-steel grade does not compensate for an incomplete joint or contaminated surface.
| Part | Stronger construction | Failure sign | Check before purchase |
|---|---|---|---|
| Mesh cloth | Even tension and specified wire diameter | Pattern stretches or collapses | Flex the basket lightly and inspect for loose wires |
| Perimeter ring | Continuous, firmly attached rim | Rim bends or pulls away | Press around the circumference |
| Ferrule | Long, tight overlap at the basket and handle | Handle rocks at the joint | Twist the handle by hand |
| Handle tube | Adequate wall thickness and straight alignment | Permanent bend during lifting | Apply a controlled downward load and check recovery |
How mesh opening and layer choice control drainage
Choose the aperture by the food’s size and moisture, then confirm drainage through open area rather than mesh count alone. Large openings move heavy solids and frying oil quickly; smaller openings retain crumbs, tea leaves, or fine particles but clog faster when food is wet, oily, or viscous.
| Choice | Drainage and retention | Best use |
|---|---|---|
| Large mesh opening, heavier wire | High open area and stronger load capacity; retains only large pieces | Chips, pasta, dumplings, and coarse frying debris |
| Small mesh opening, lighter wire | Finer retention but reduced flow and higher blinding risk | Small fried fragments, flour, tea, and loose particles |
| Single mesh skimmer versus double mesh skimmer | Single mesh drains faster; double mesh improves retention but adds resistance and cleaning effort | Choose single for throughput, double for fine particles |
| Staged filtration | Separate coarse and fine work instead of forcing one screen to do both | High-volume drainage followed by fine separation |
For square woven mesh, opening in millimetres is approximately (25.4 ÷ mesh count) minus wire diameter. Two screens with the same mesh count can therefore drain and retain differently. A plain square weave estimates open area as [opening ÷ (opening + wire diameter)]² × 100; thicker wire reduces flow even when aperture stays unchanged.
Specify aperture, wire diameter, weave, tolerance, and whether the opening is nominal or a tested sieve opening. Do not assume ASTM E11 compliance applies to a kitchen skimmer. For wet or fine products, test the actual food: a slightly larger aperture often prevents clogging, while a second filtration stage preserves fine retention.
How to verify strength, finish, and food-contact readiness
Inspect a finished skimmer by loading its structure, tracing every food-contact edge, and checking whether any surface can trap residue or wash water. A smooth, corrosion-resistant finish matters as much as a strong basket; the U.S. Food Code describes multiuse food-contact equipment as smooth and easily cleanable.
1. Perform a basket flex test. Press the mesh and lift the skimmer with a realistic load; permanent distortion, loose wires, or movement between the basket and rim indicates weak construction. Check rim thickness and look for dents, waviness, or a ring that separates from the mesh.
2. Complete a weld inspection around the perimeter ring, handle ferrule, and handle-to-basket connection. Reject incomplete welds, pinholes, cracks, spatter, open crevices, and joints that move when you twist the handle. A sound mesh pattern does not compensate for a deformed ring or handle joint.
3. Run a clean-glove or cotton-cloth check over every food-contact surface. Protruding wire ends, sharp burrs, folded wire pockets, overlapping layers, blind holes, and lap joints can cut hands or retain food soils.
4. Examine the handle for a secure grip, heat exposure, and drainage. Reject hollow tubing with an unsealed end, loose sleeves, or gaps that can hold water and residue.
Confirm the stated stainless-steel grade, wire diameter, surface finish or passivation, and food-contact declaration. ASTM E11 sieve specifications do not automatically define a kitchen skimmer’s construction or suitability.
How to match skimmer size and handle design to the vessel
Measure the vessel opening and working depth before selecting a skimmer. The skimmer diameter must leave clearance around the rim so you can scoop, turn, and drain without scraping the pot or trapping food against its sides.
1. Match the basket to the task and vessel. A diameter slightly smaller than the vessel opening improves clearance and control; an oversized basket catches on the rim and demands more force.
Set basket depth against the food load: a shallow basket releases contents quickly, while a deeper basket carries more food but increases lifting resistance and spill risk.
2. Choose handle length for reach without leverage loss. The handle length should keep your hand away from steam, boiling water, or hot oil while allowing the basket to sit level during lifting.
An excessively long handle makes the skimmer nose-heavy and increases wrist torque; a short handle forces your hand too close to the heat.
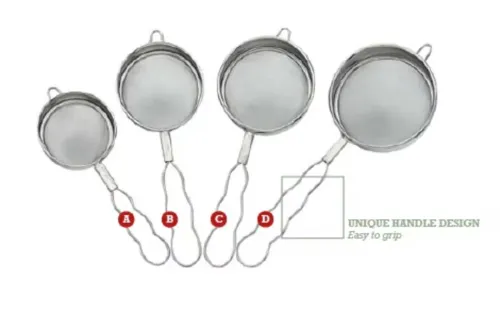
3. Check grip design and total weight together. A textured, heat-resistant grip reduces slipping when your hand is wet or gloved, while a sealed handle prevents wash water and food residue from collecting inside.
Keep the total weight low enough for repeated lifts, because a heavy rim, deep basket, or long handle shifts the centre of gravity forward and strains the wrist. Lift a loaded sample before approval; static strength alone will not reveal poor balance.
How a manufacturer documents consistent performance for buyers
Request a controlled specification and a lot-specific quality record, not a generic “food grade” statement. The record should let you connect the shipped skimmer to its material, dimensions, construction, finish, and food-contact basis.
1. Require the stainless-steel grade, wire diameter, mesh opening, weave type, aperture tolerance, basket and rim dimensions, handle tubing, and handle-to-basket joining method. State whether the opening is nominal or measured.
2. Ask for aperture and wire-diameter inspection results. ASTM E11 applies to manufactured test sieves with defined construction and aperture tolerances; it does not automatically make a kitchen skimmer compliant. If the supplier cites ASTM E11, ask which measurements and acceptance limits were used.
3. Request weld or joint inspection records covering incomplete welds, loose wires, sharp cut ends, open crevices, and rim attachment. Include photographs or sampling results when the order uses welded, crimped, or folded construction.
4. Obtain the surface-finish record, including polishing, cleaning, and passivation status. ASTM A967 covers chemical passivation treatments and verification tests for stainless-steel parts; it does not remove weld scale, embedded abrasives, or rough food-trapping geometry.
5. Require a food-contact declaration naming the material and regulatory basis, plus batch traceability linking the shipment to wire grade, inspections, finishing, and production date.
Ask Unistar Kitchen Strainers to put these fields on the purchase specification and packing records rather than leaving them in email. That makes a rejected export lot easier to investigate and prevents a coarse-debris skimmer from being substituted with an unsuitable “fine mesh” design.
Related product
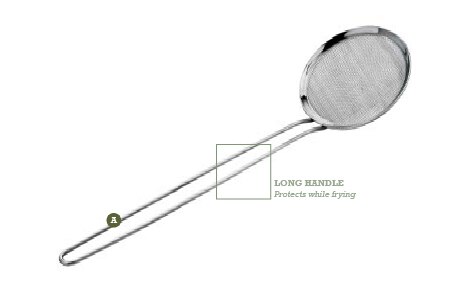 | Net Skimmer / Jara The Net Skimmer, also known as "Jara," is a versatile kitchen tool for removing food items from hot liquids or oil. View product → |
Frequently asked questions
What makes a wire-mesh skimmer strong under lifting loads?
Strength comes from the combined load path through the mesh, perimeter ring, ferrule, and handle. Specified stainless-steel grade, wire diameter, even mesh tension, and secure joints prevent the basket from distorting during lifting.
How do mesh opening and layer choice affect drainage?
Larger openings drain oil or water faster but retain fewer small pieces. Fine mesh captures crumbs and small foods while slowing drainage. Multiple layers add filtration but also increase resistance to flow and cleaning effort.
How can you verify a skimmer’s finish and food-contact readiness?
Ask for the stainless-steel grade, wire diameter, weld or joint details, surface-finish information, and inspection records. Check the finished tool for sharp wire ends, exposed gaps, loose connections, pits, and residue-trapping crevices.
How should you match a skimmer to the vessel?
Compare basket diameter with the working area of the pot, fryer, or kettle. Select a handle long enough to keep your hand away from heat, while leaving clearance for storage and avoiding contact with nearby equipment.